Your Local Fence Company
This is a subtitle for your new post
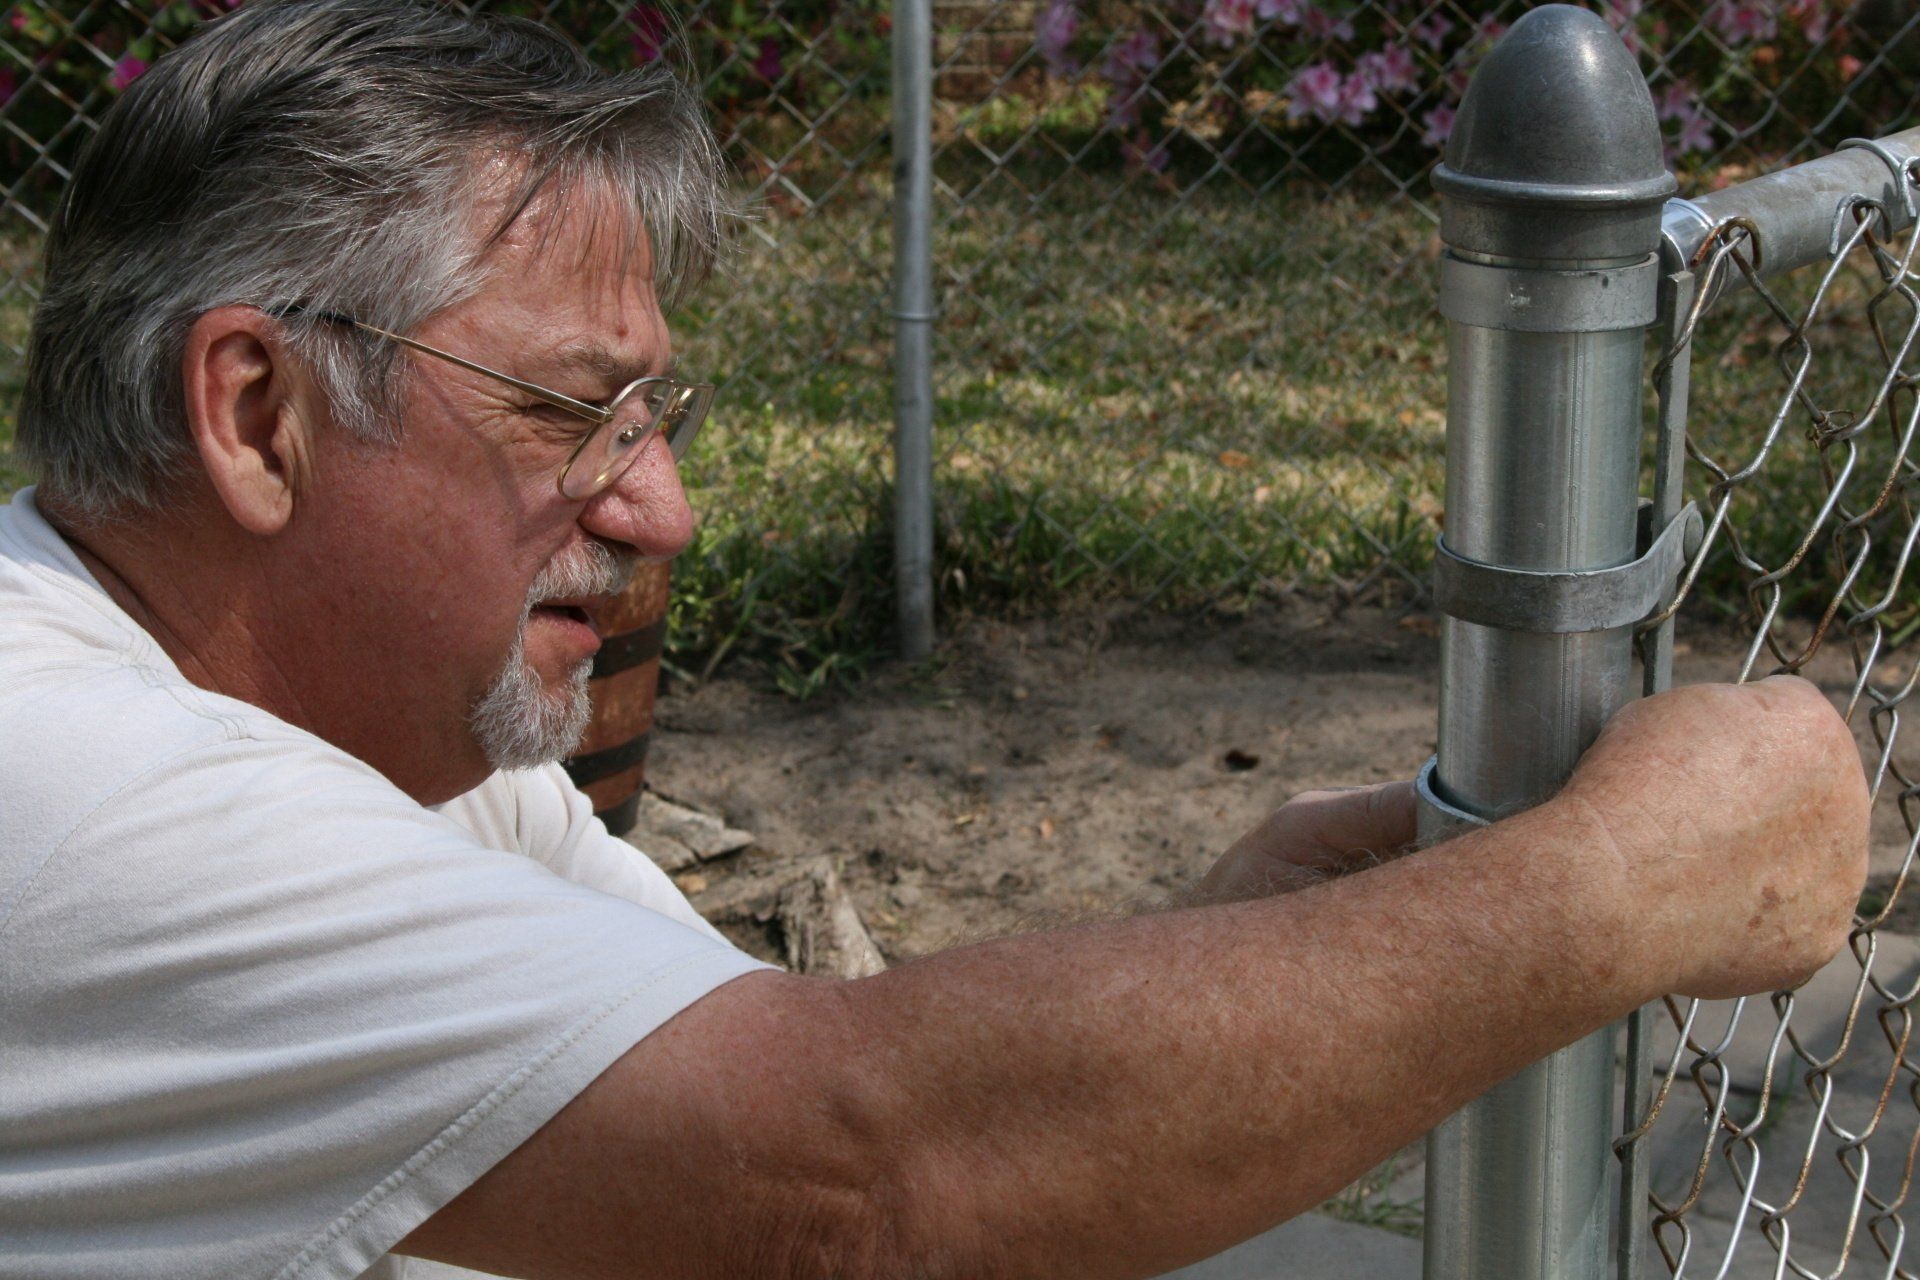


Chain Link Fence
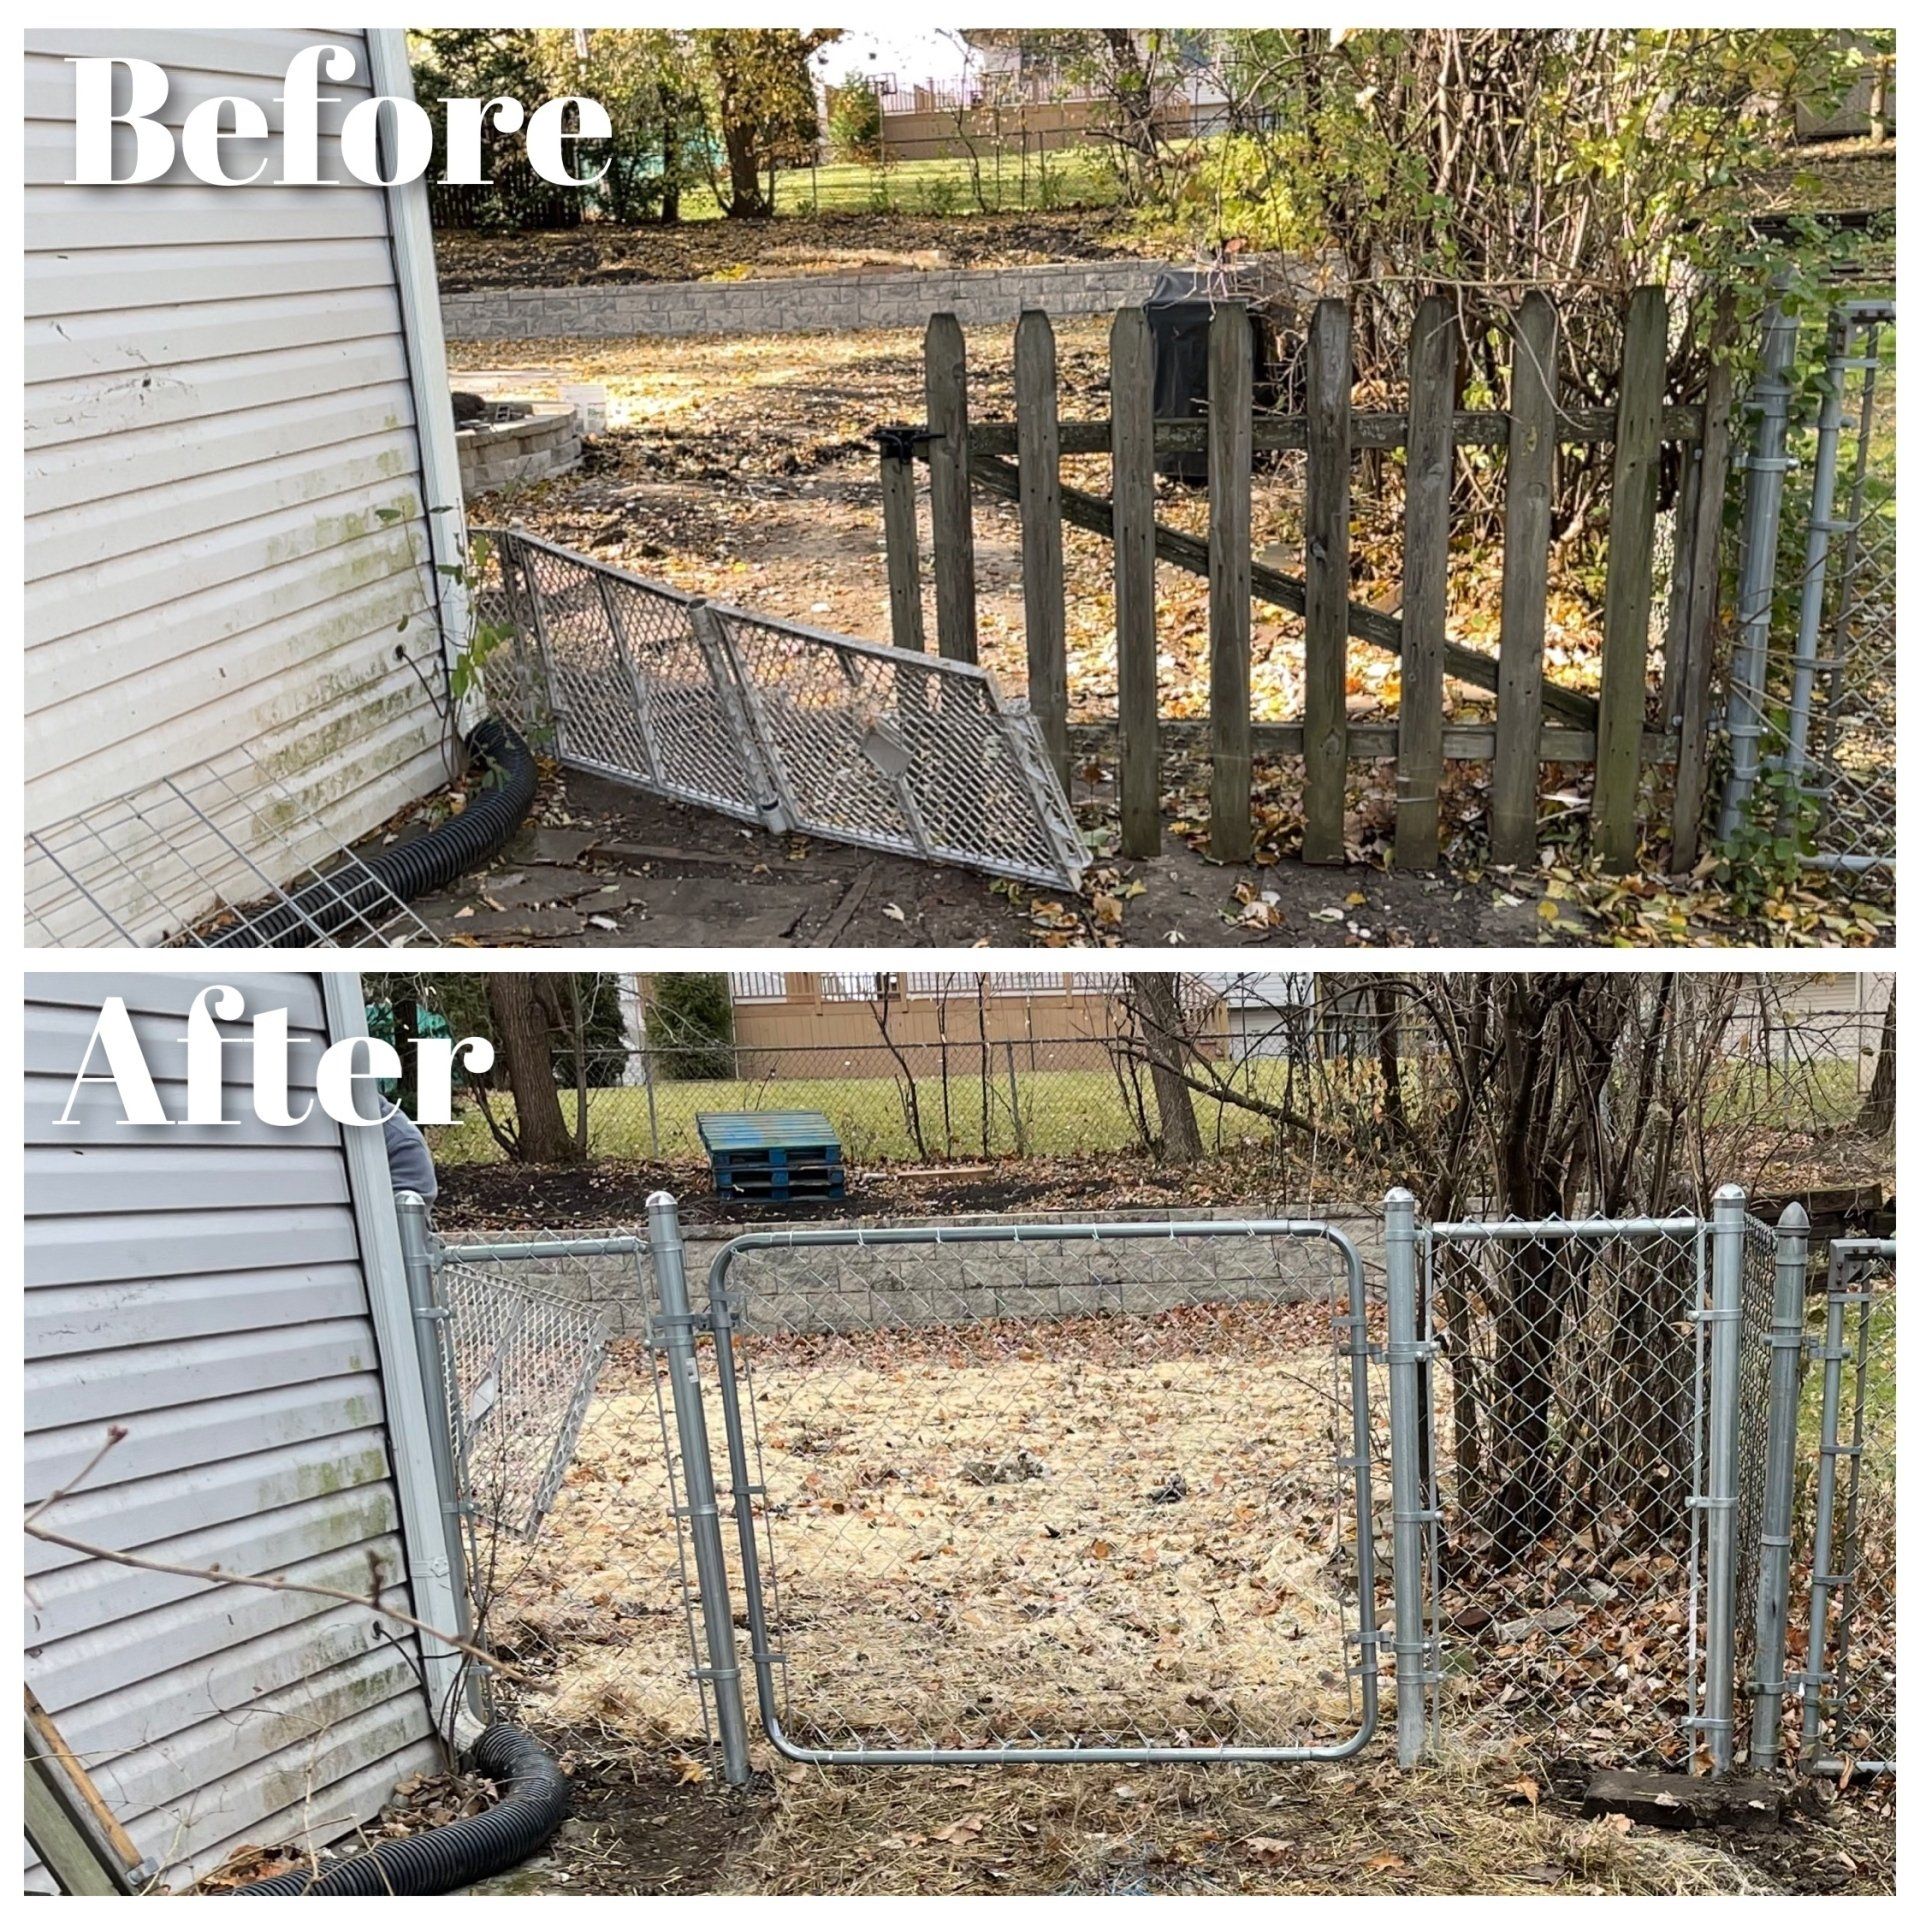
Chain link fences are one of our most popular fencing options. They are incredibly affordable, provide excellent security, and can last a lifetime. Modern chain link fences will enhance the appearance of your property. Due to their lower cost, they are also ideal for larger-scale projects. We've seen chain link fences still standing after 35+ years!
If you would like to learn more about our chain link fences for your home or business, don’t hesitate to contact us. A common choice is black chain link fence, click the picture to learn more.
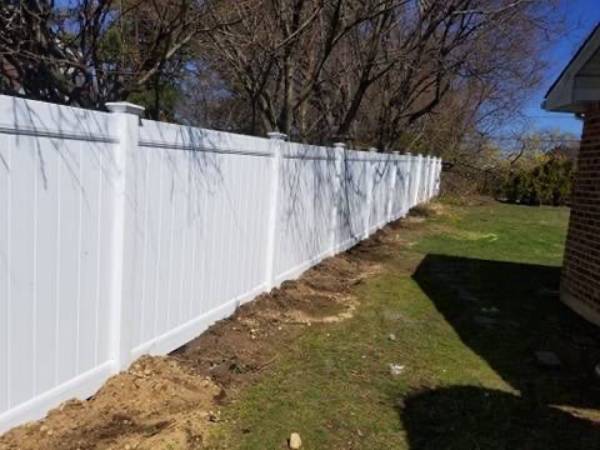
Vinyl Fence
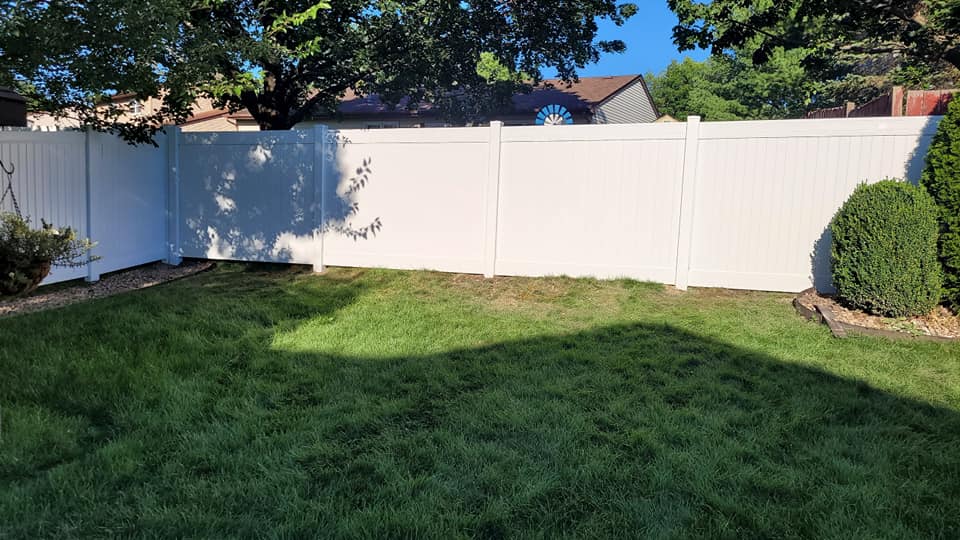
A new vinyl fence can transform the appearance of your property while providing excellent privacy and security. Vinyl fences are incredibly versatile and come in a wide range of designs and styles that will meet your needs. From privacy fences to picket fences, we have a vinyl fence that will be perfect for your property. If you’ve been thinking of upgrading to a vinyl fence, our team is ready for the job.
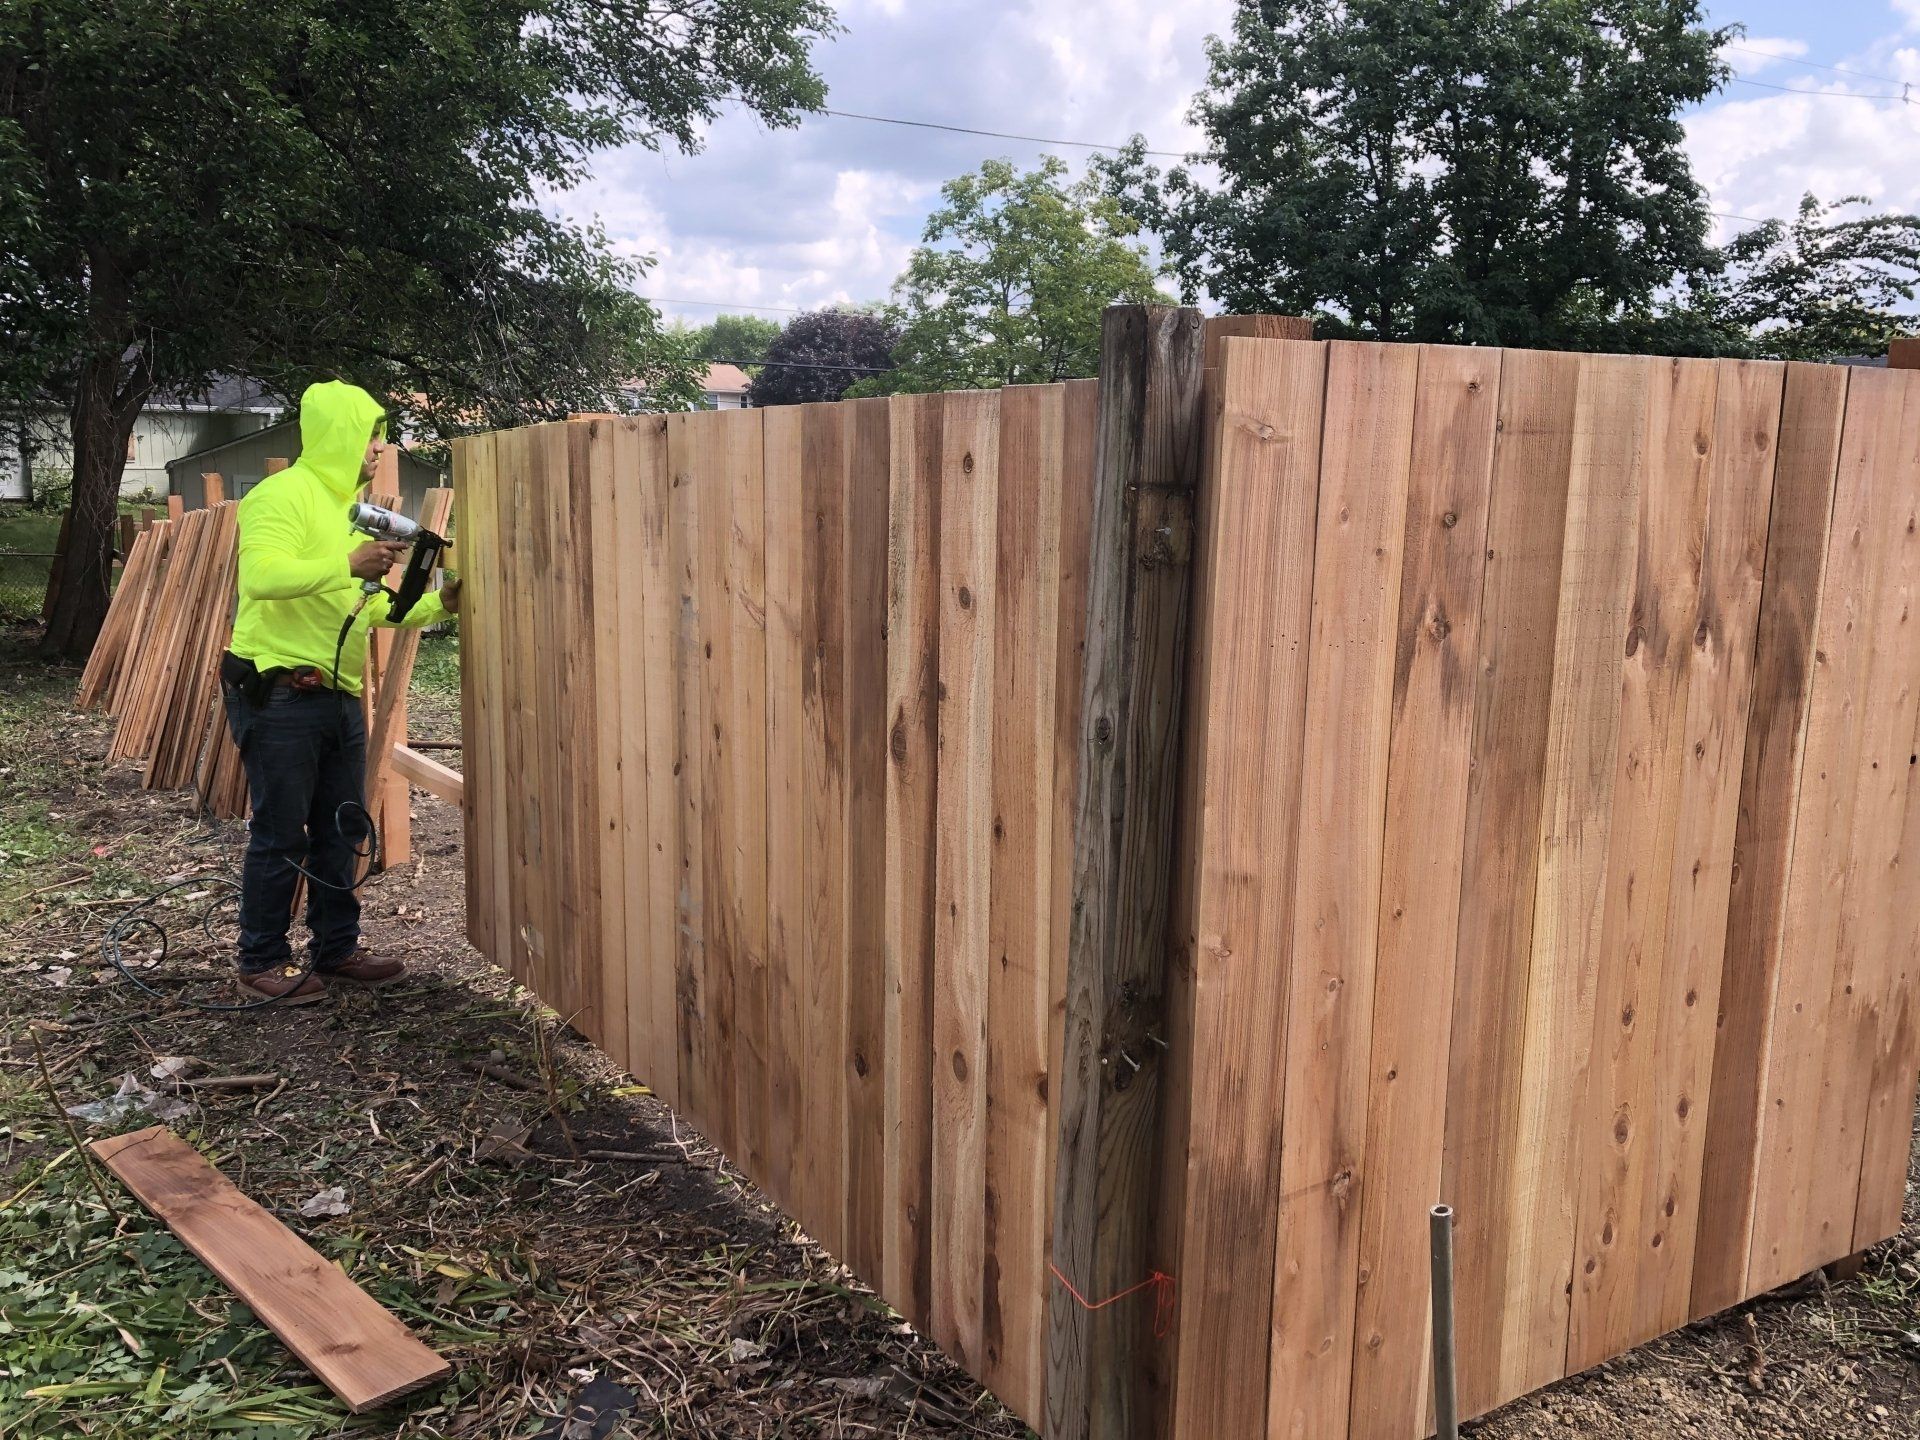
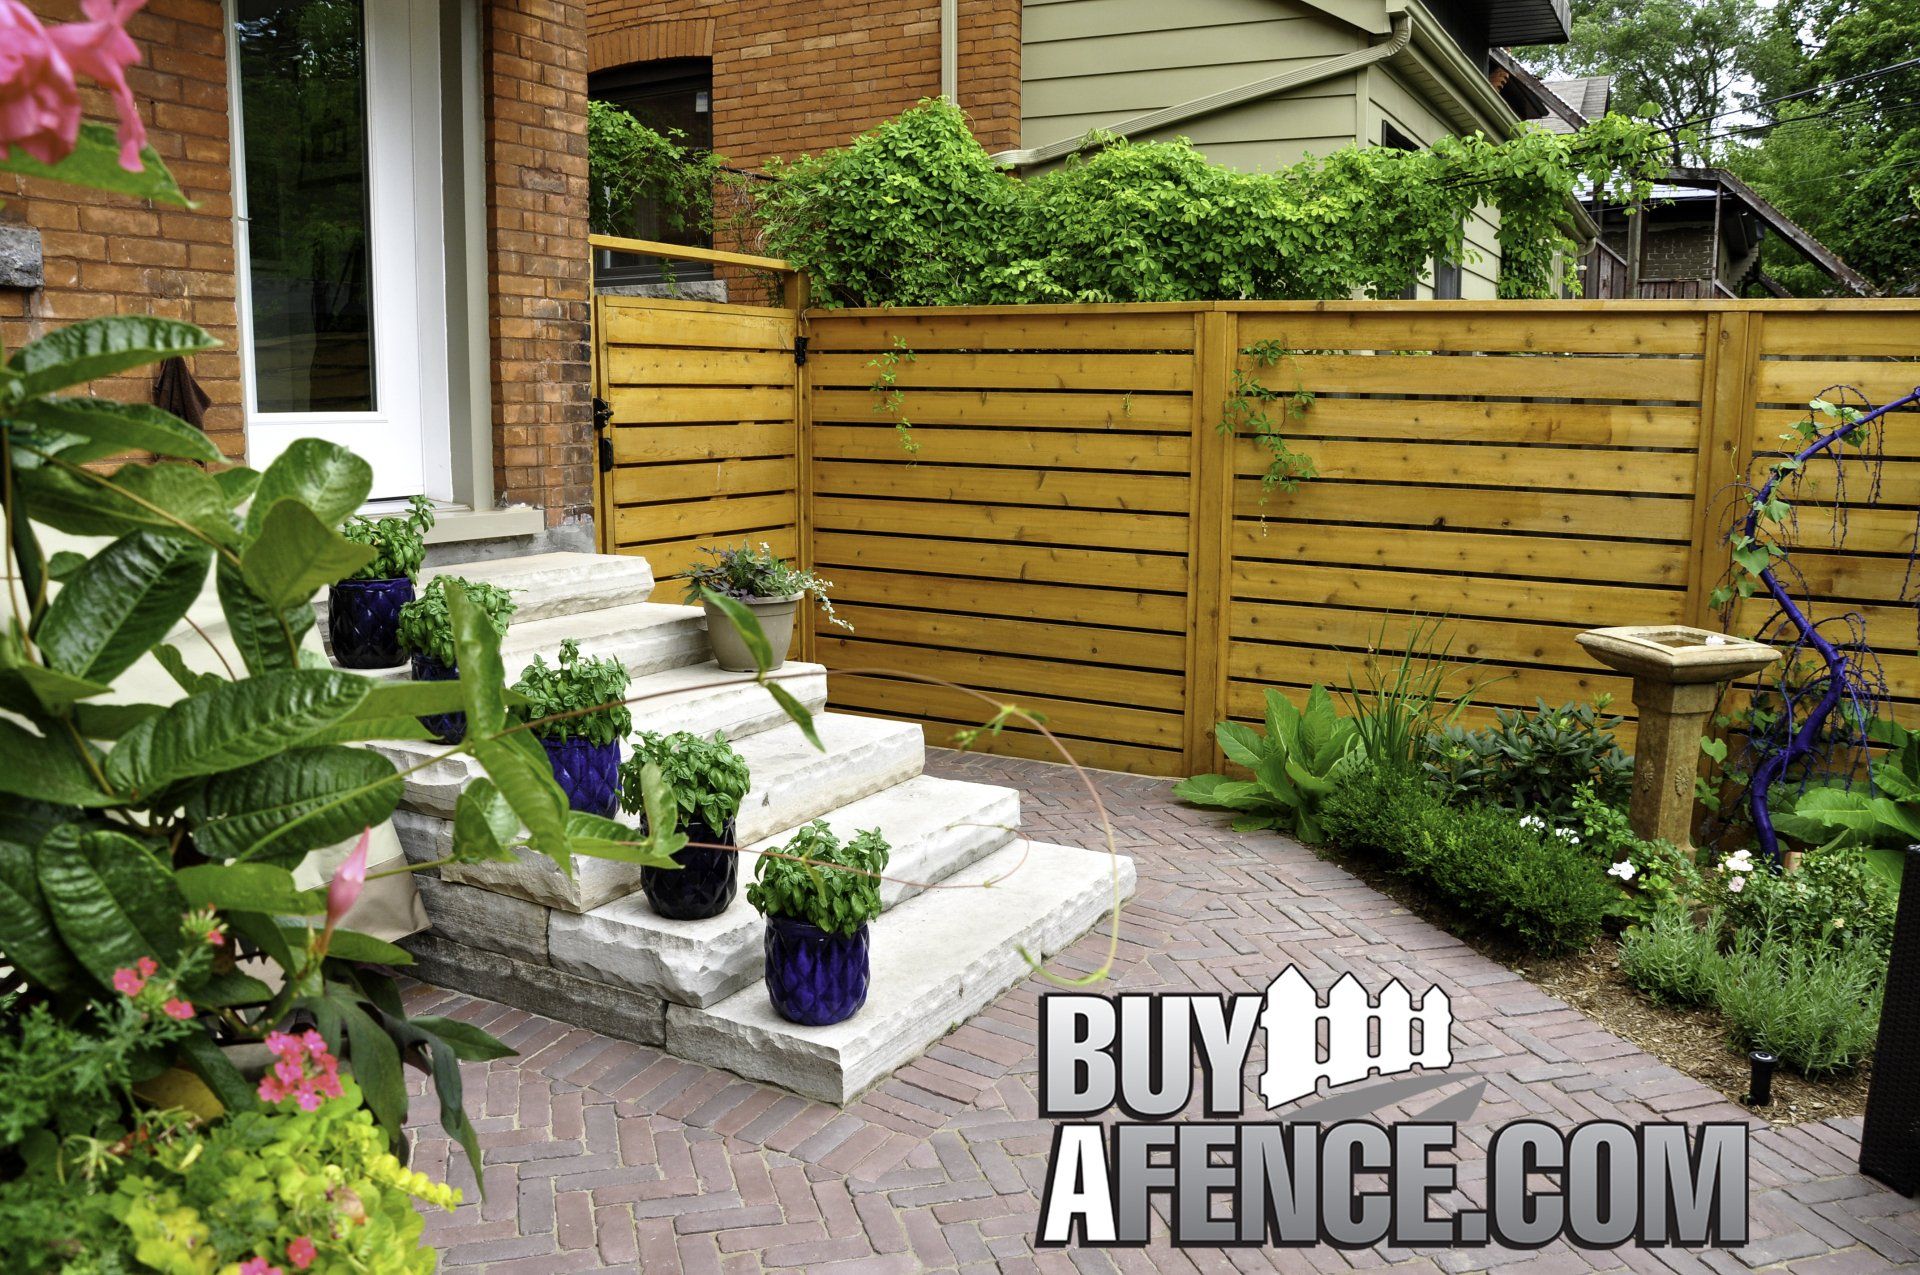
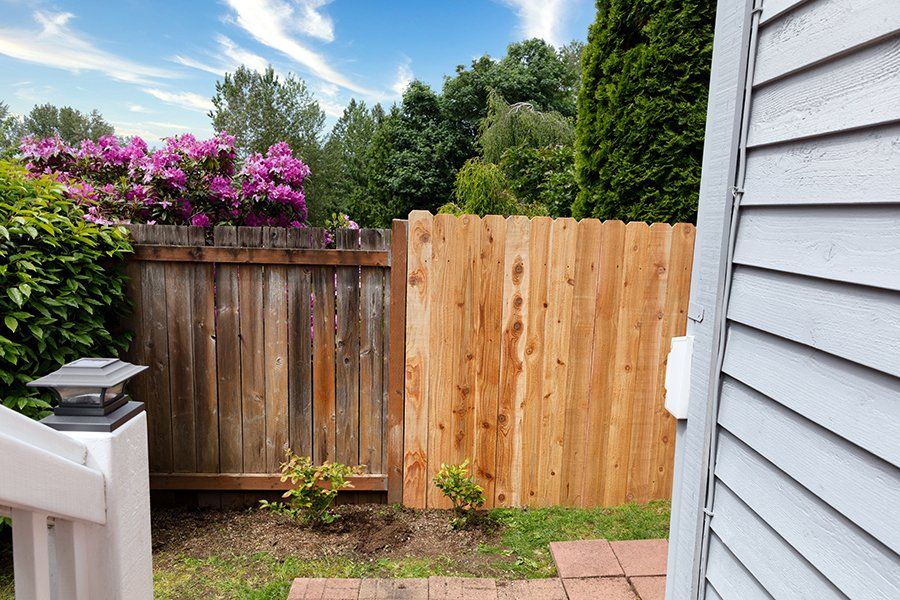
Cedar Fence
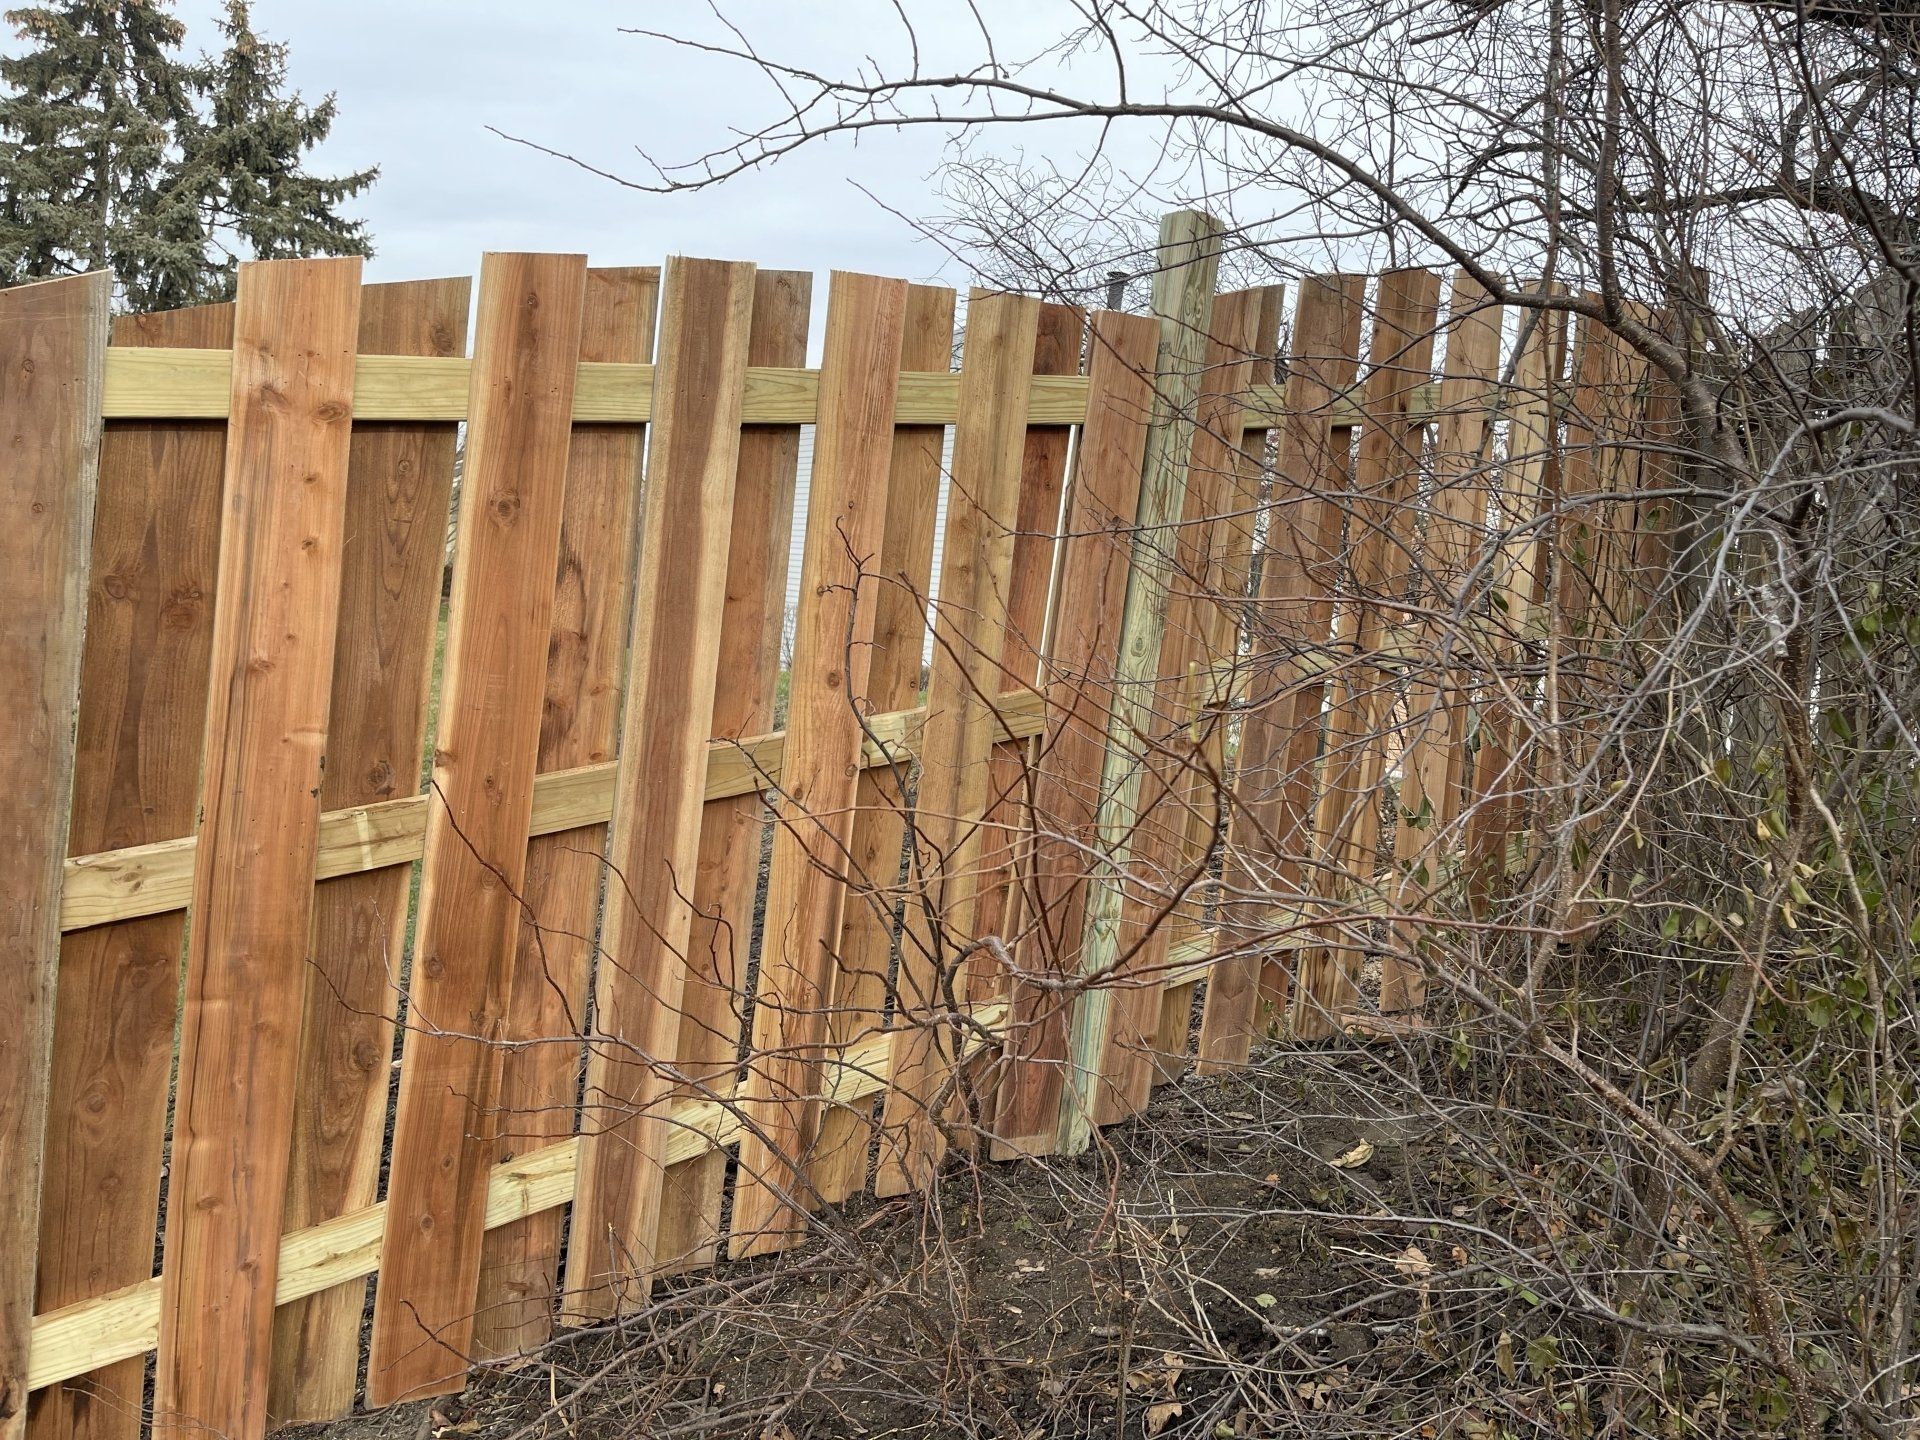
We also offer a wide range of cedar fence installation options that will protect your home while enhancing your property's appearance. Our cedar fencing comes in a variety of styles and designs. We offer cedar picket fences, post & rail, vertical board fences, and a wide range of alternative styles. Cedar fencing can be stained or painted to add to the visual appearance of your property as well.
Pressure Treated Pine Fence
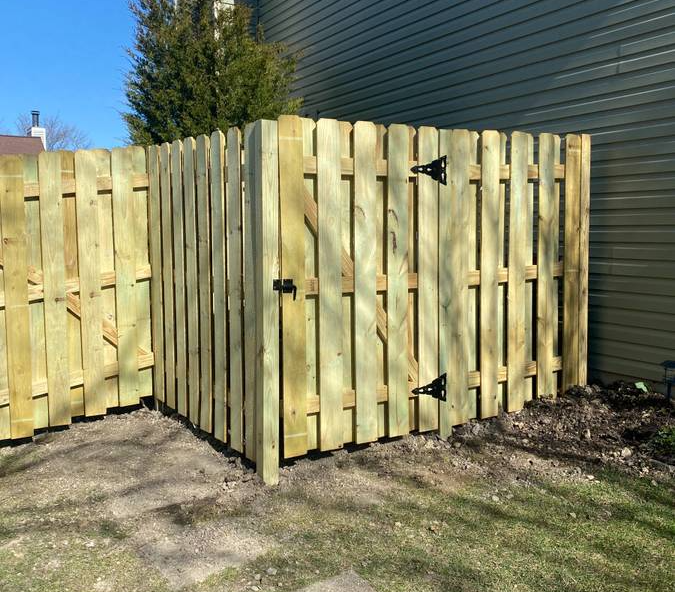
Pressure treated fencing is a great alternative to traditional cedar fence. It has a lower price point and still weathers the Illinois weather quite well. Pressure treated pine offers a bright appearance and natural wood look. It's great for those on a budget or commercial applications such as perimeter fencing and dumpster corrals. Pressure treated pine offers better ground exposure where there is high moisture present. There are shortfalls however, so visit our cedar and pressure treated informational pages to learn more about the difference between the two.
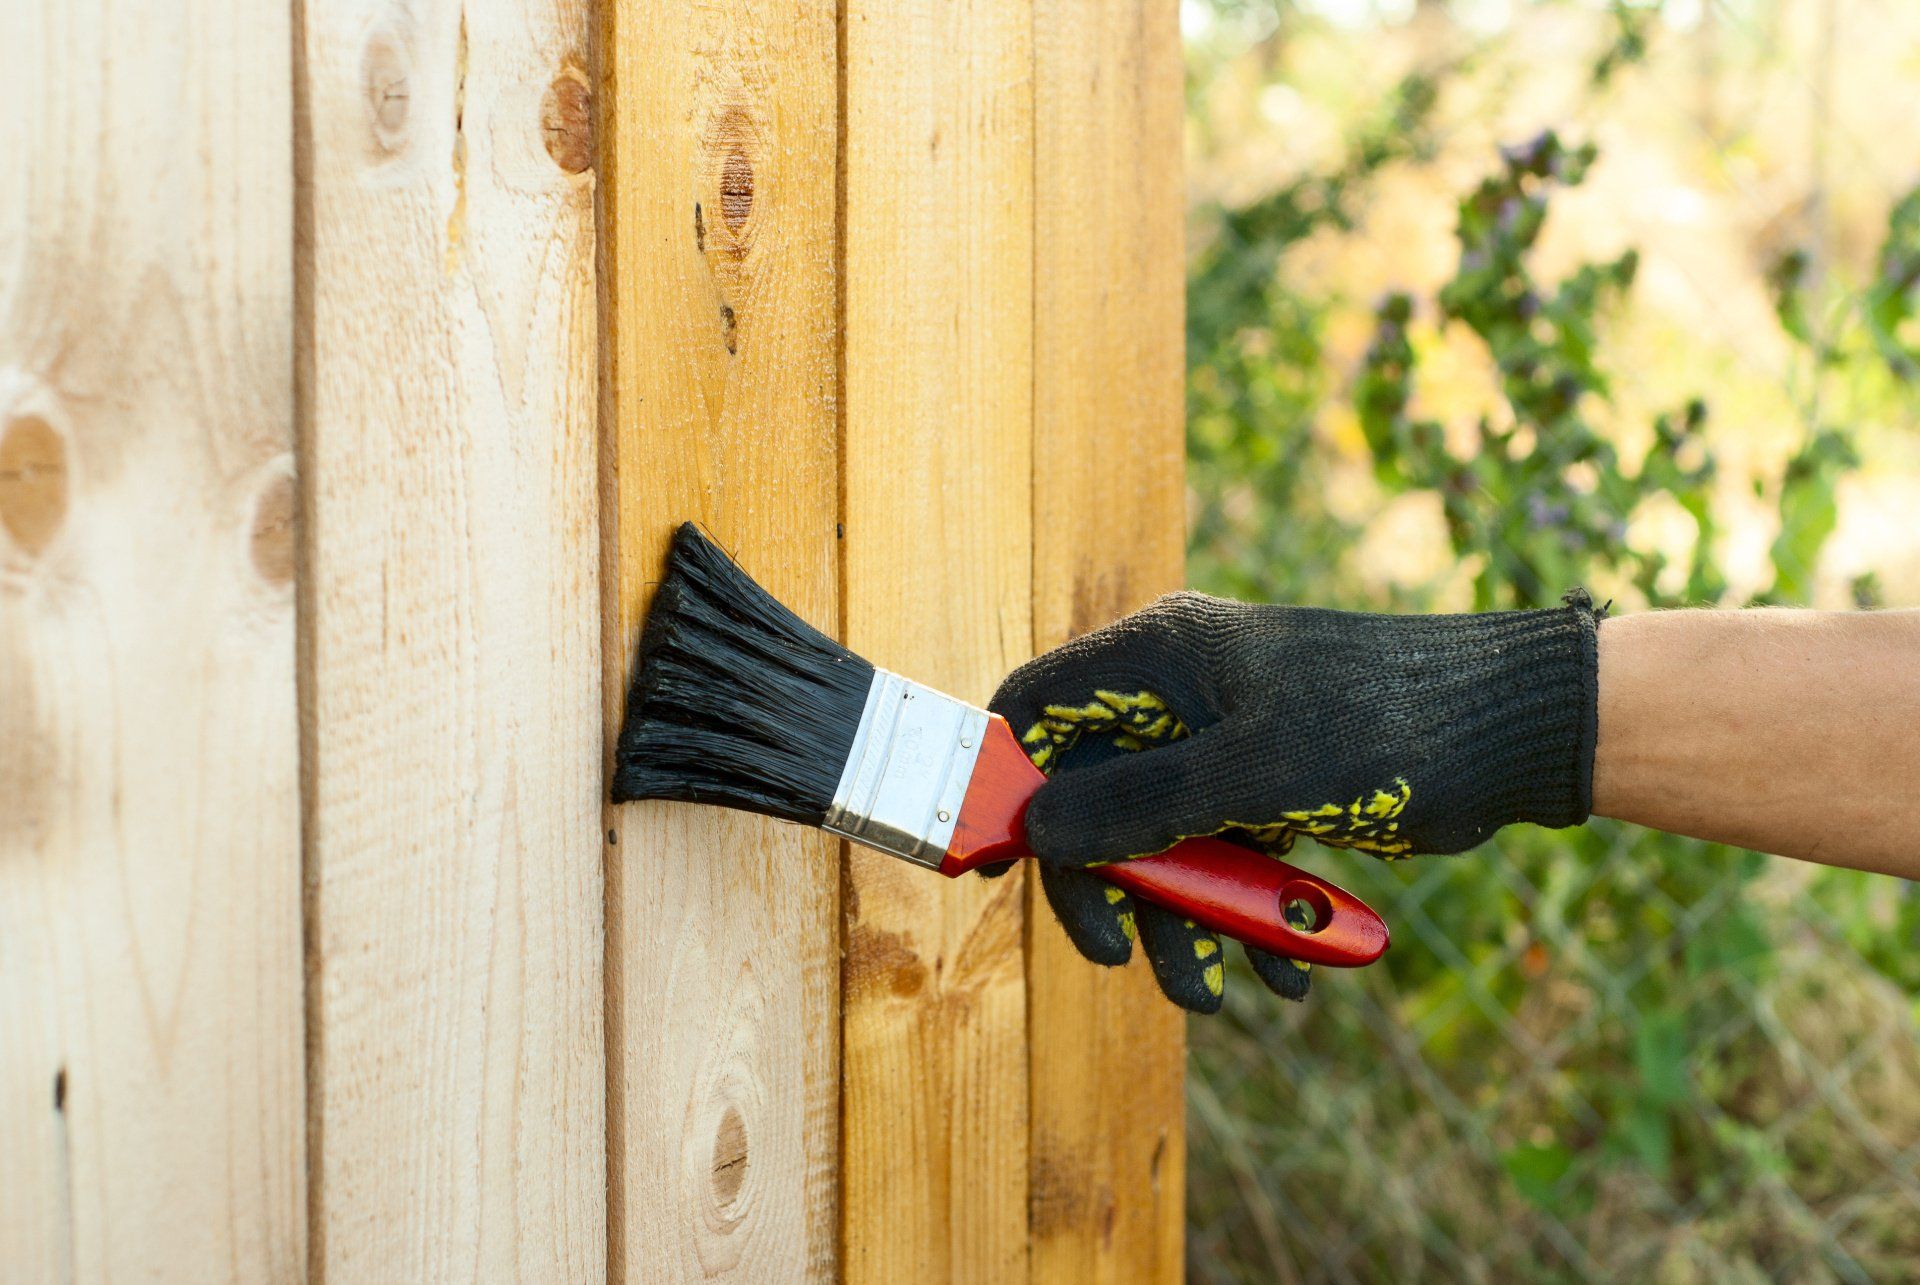
Considering Staining?
Whether you choose to do it yourself or leave the work to the professionals, you want to choose a quality stain. We recommend Woodrich Staining Restoration Kits!

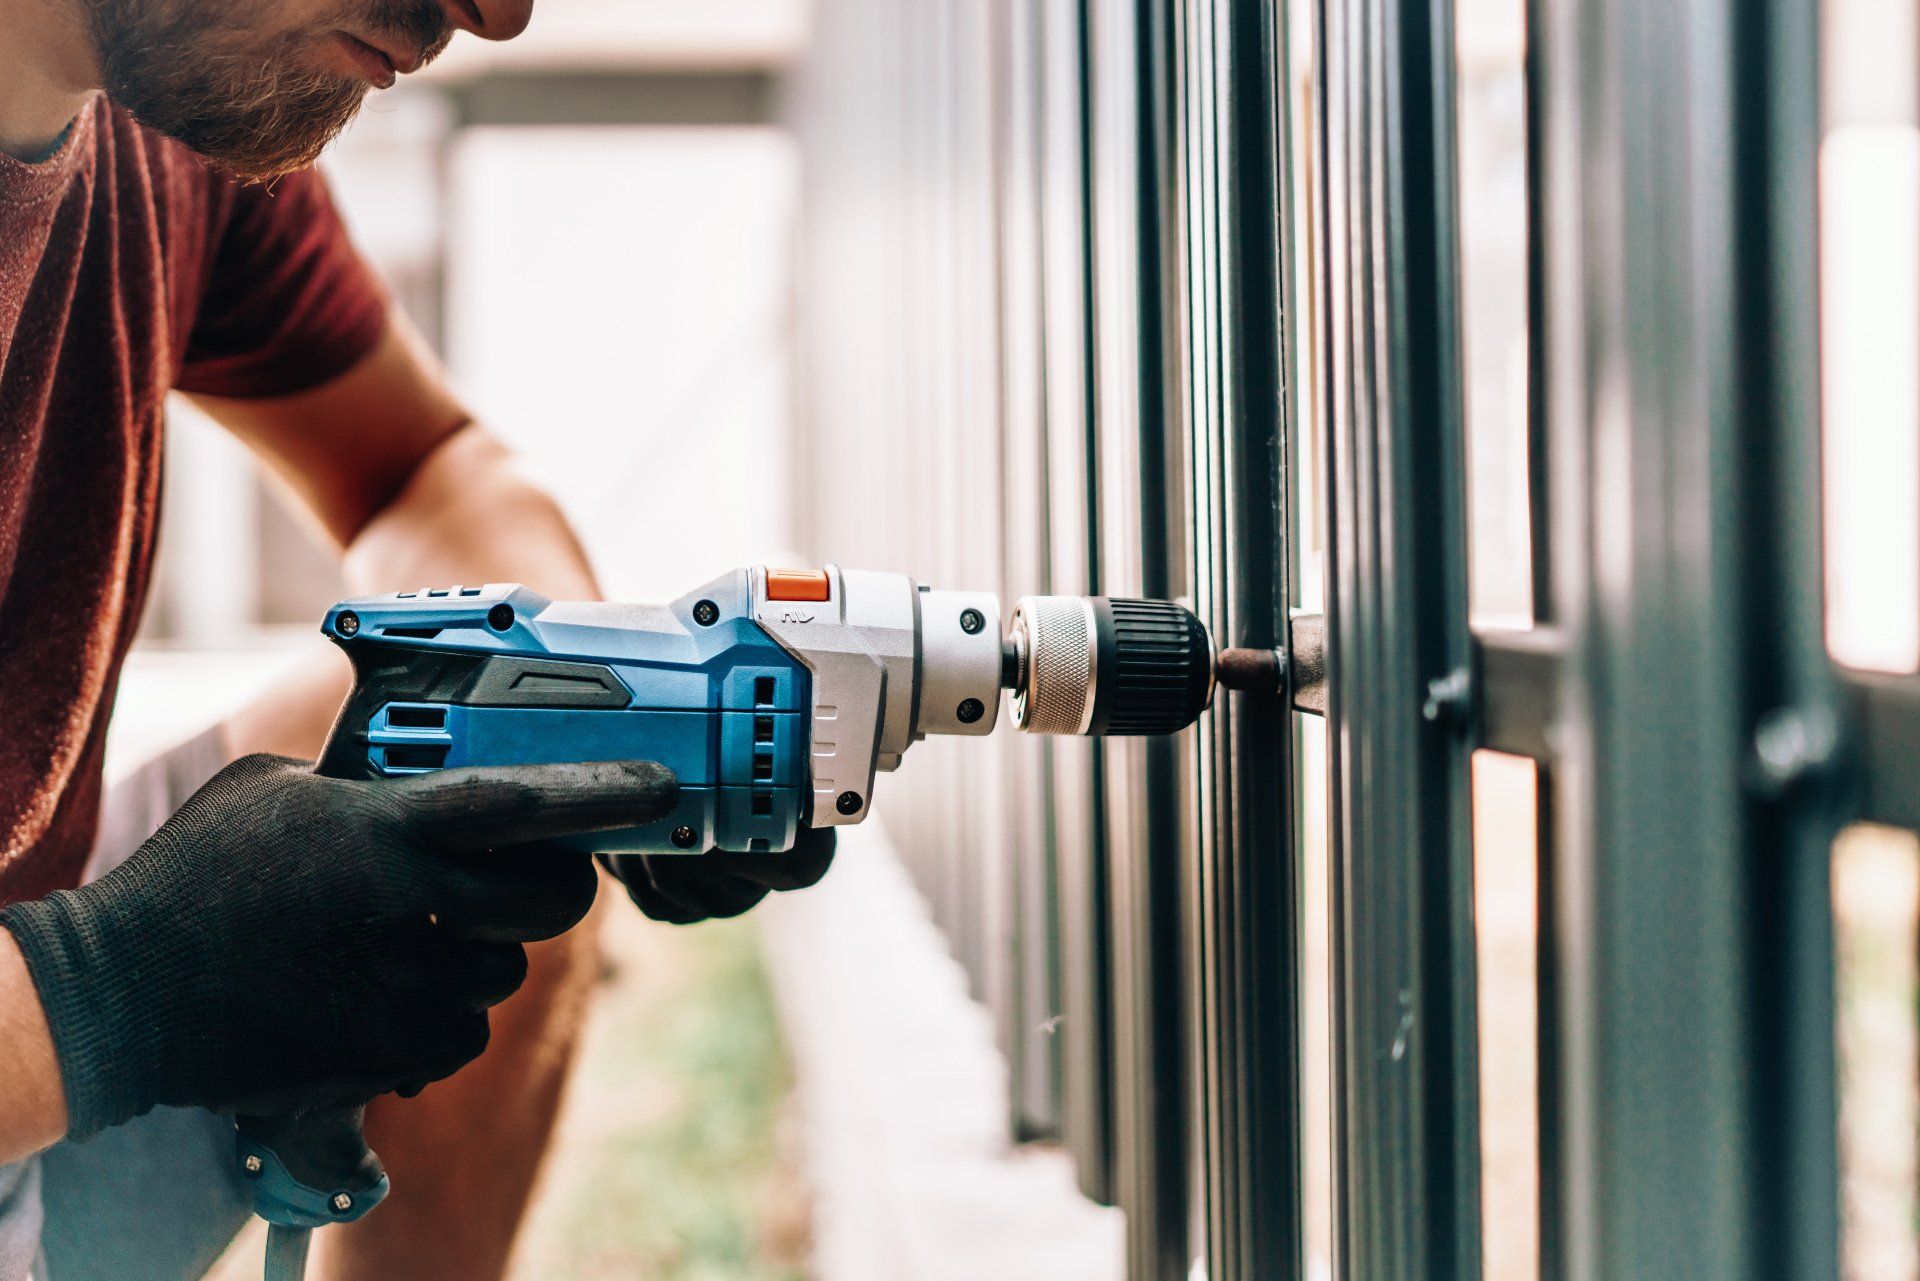
Aluminum Fence
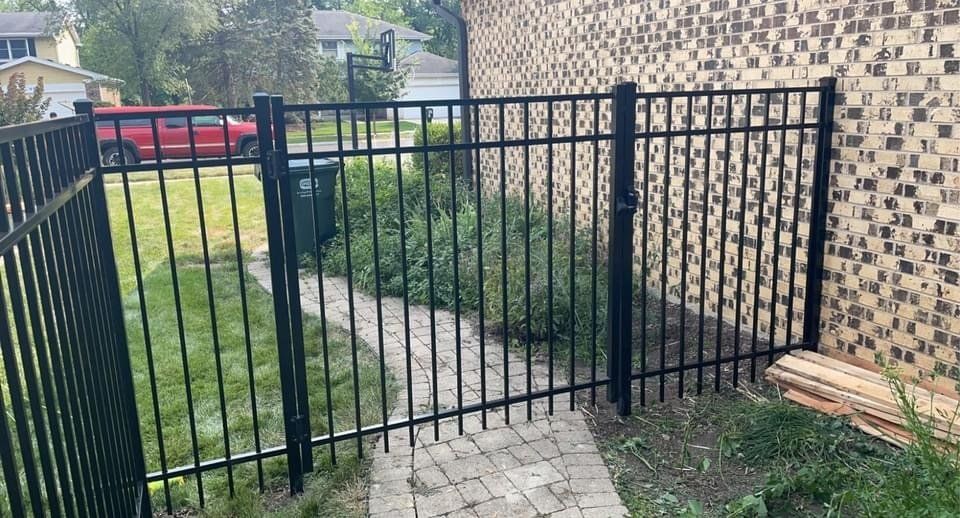
Aluminum fencing has become popular in recent years. The best aspects of aluminum fencing is that it is doesn't rust, and it carries a lifetime warranty. It is very durable and maintenance-free. Versus iron or steel, which are prone to rust and corrode over time. Contact us today to get a free estimate on our aluminum fence options.
We don't carry or install electric fences for dogs, but we have partners that do! There are pros and cons of installing an electric fence, so it's important to understand them before making that decision. Click one of the links below to learn more about how an electric fence can help keep your dog in the yard.

CONTACT US
Our team is available to provide professional fence services. Based in Hoffman Estates, IL, our company can provide expert fence installation, maintenance, and repair services. We offer a wide range of fence styles to choose from including chain link fence, vinyl fence, cedar fence, aluminum fence, and composite fence. We also provide professional deck design and construction services. If you would like to find out more about our fencing services or would like book your free consultation, don’t be afraid to contact us. You can reach our customer service team by using the phone number or contact form on this website.